How to apply
Mattonflex
Mattonflex can be applied simply and quickly to a variety of surfaces.
Where are you applying Mattonflex?
a continuous wall
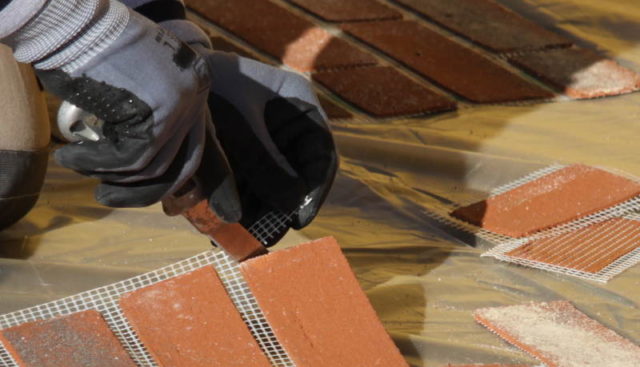
1.Begin by cutting the half bricks at the end of the sheet with a cutter.
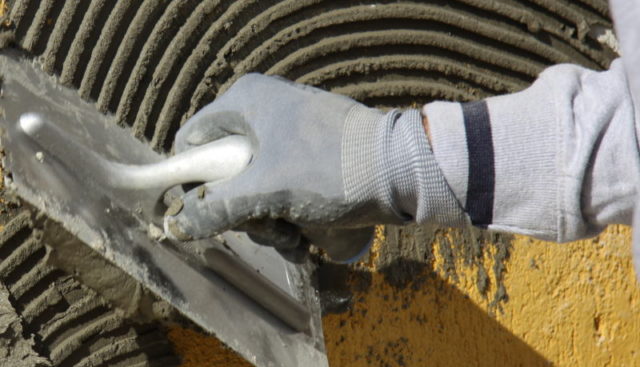
2. Using a toothed trowel of 4-5 mm thickness, apply a generous layer of previously mixed outdoor tile adhesive to the area to be covered.

3. Apply the MattonFlex sheet, tapping gently to make it stick to the newly laid glue.
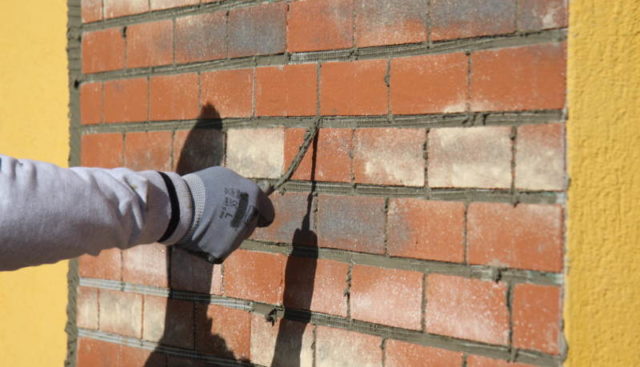
4. Go over the joints several times using the jointer found in the packaging, the netting should disappear in the underlying glue, in this way the excess glue will come out, creating a hollow between one brick and the other.
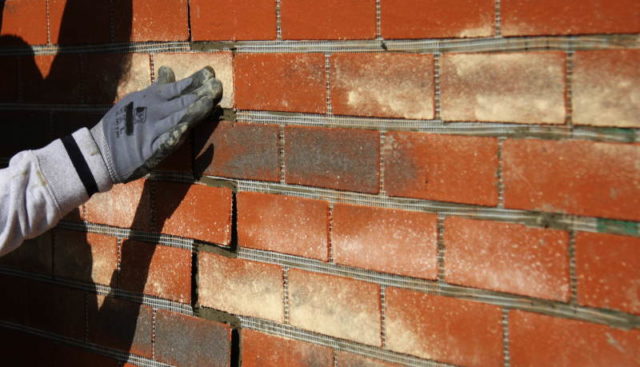
5. Cut the half bricks from the ends of the second sheet and apply next to the newly applied sheet. In this way, the joint between one sheet and another is almost invisible. Keep the half bricks you have cut aside, they can be used for other applications.
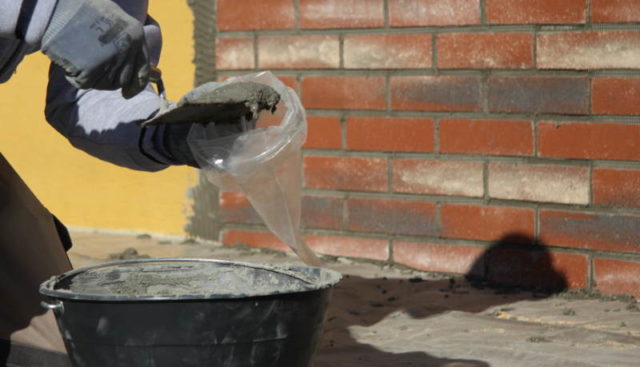
6. Apply mortar to the joints. Water repellent mortar for masonry with exposed concrete can be found in most DIY stores. Mix the mortar well until it reaches a dough like consistency and insert it in the grout bag which can be found in the packaging.
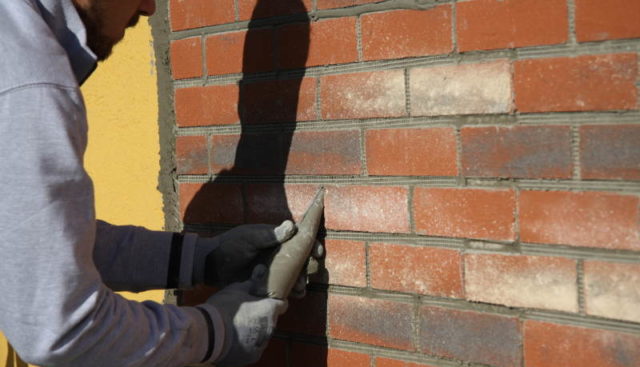
7. Apply the mortar to the joints immediately after mixing. We recommend applying whilst the glue is still wet.
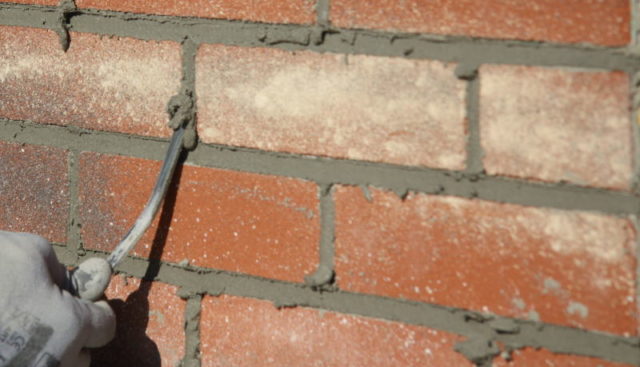
8. Leave the mortar to dry a little; using the jointer apply light pressure to the joints in order to cover the net.
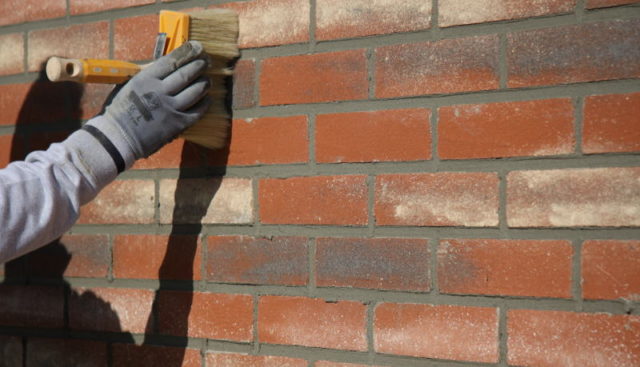
9. Use a dry brush to remove the excess mortar
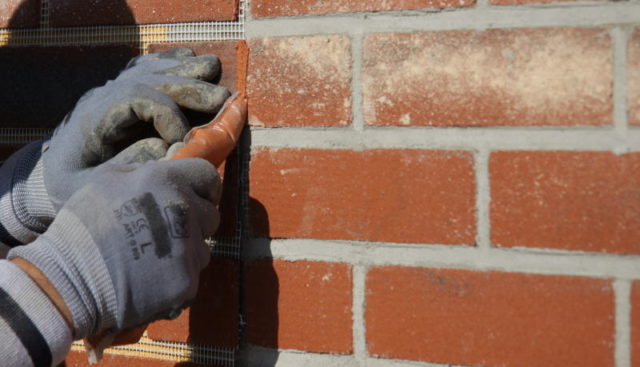
10. In order to avoid waste, the two ends of the sheet can be applied closer together and the bricks filled with the resin found in the packaging.
To pillars and angles/corners
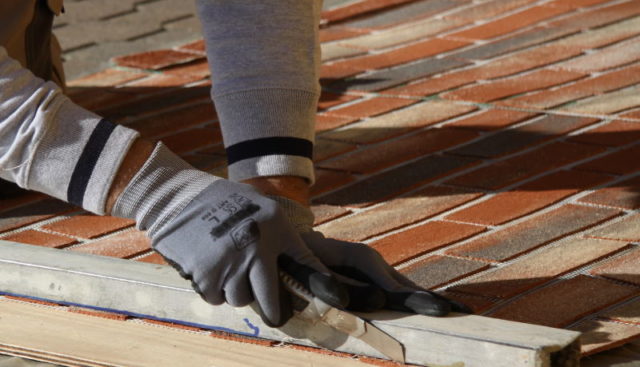
1. Measure and cut the first side of the pillar with a cutter.
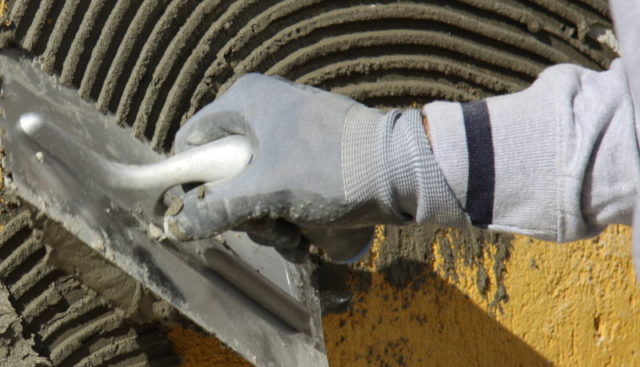
2. Using a toothed trowel of 4-5 mm thickness, apply a generous layer of previously mixed outdoor tile adhesive to the area to be covered.
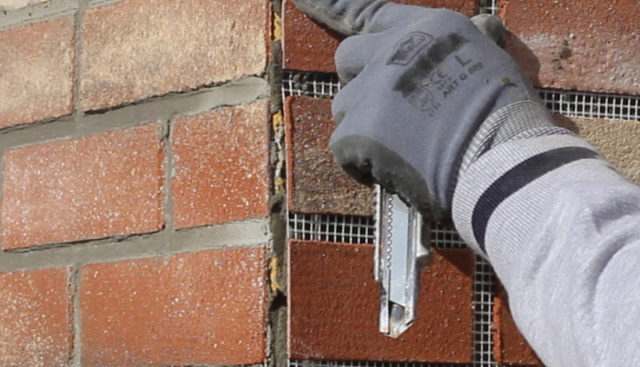
3. The second part of the pillar will be covered by the Mattonflex sheet cut to size matching the long brick to the short brick in order to create the shape of a real brick.
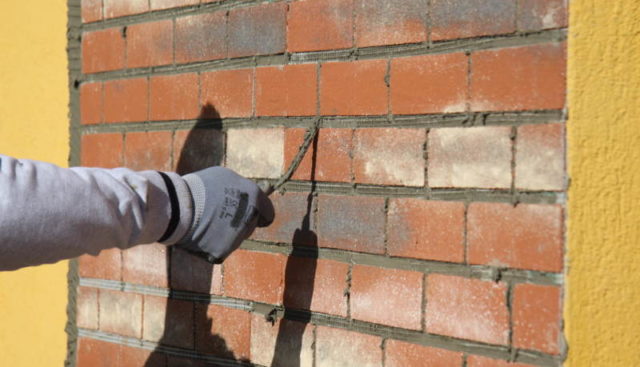
4. Passa con decisione più volte sulle fughe servendoti del ferretto presente nell’imballo affogando la rete alla colla sottostante, in questo modo fuoriuscirà la colla in eccesso che andrà a creare l’incavo tra un mattone e l’altro.
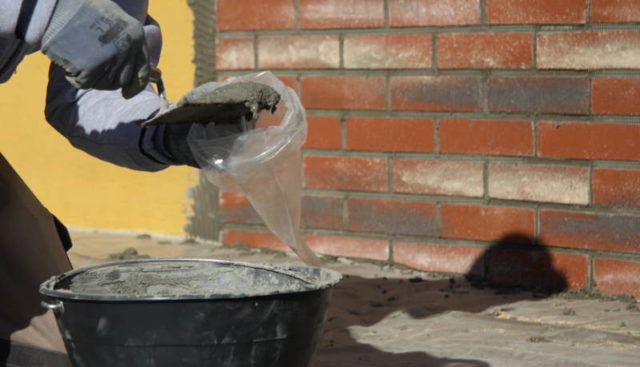
5. Go over the joints several times using the jointer found in the packaging, the netting should disappear in the underlying glue, in this way the excess glue will come out, creating a hollow between one brick and the other.
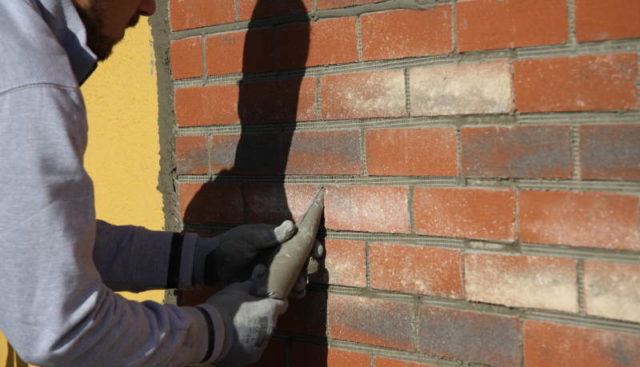
6. Apply the mortar to the joints immediately after mixing. We recommend applying whilst the glue is still wet.
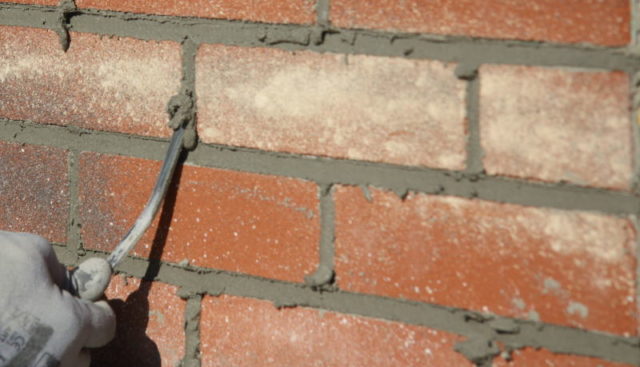
7. Leave the mortar to dry a little; using the jointer apply light pressure to the joints in order to cover the net.
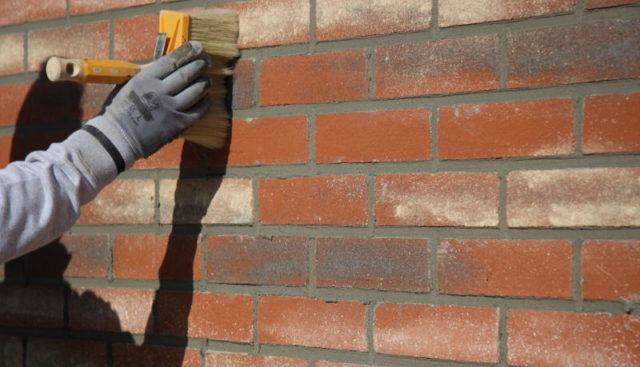
8. Use a dry brush to remove the excess mortar.
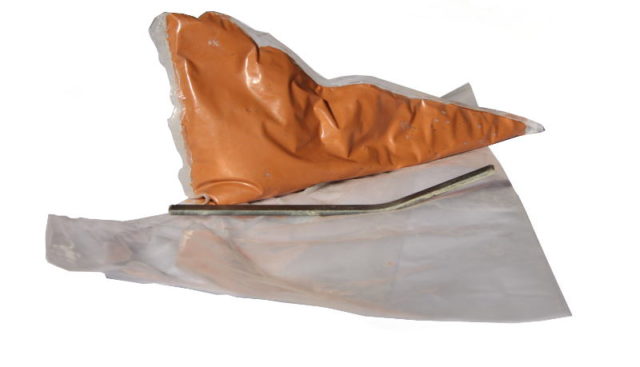
9. In the packaging you will find a grout bag containing the coloured resin of the brick of your choice. Cut the end of the grout bag.
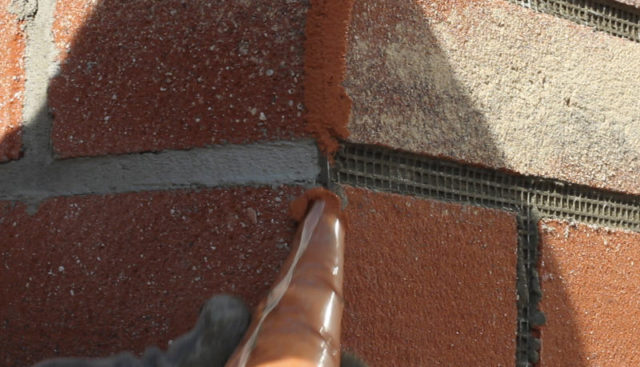
10. Apply the resin between the two sheets to create the appearance of a whole brick
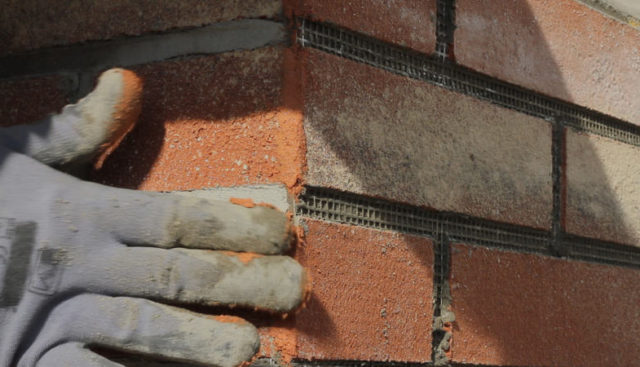
11. To fully integrate the colors, blend the resin gently with a glove running your hand along the surface.
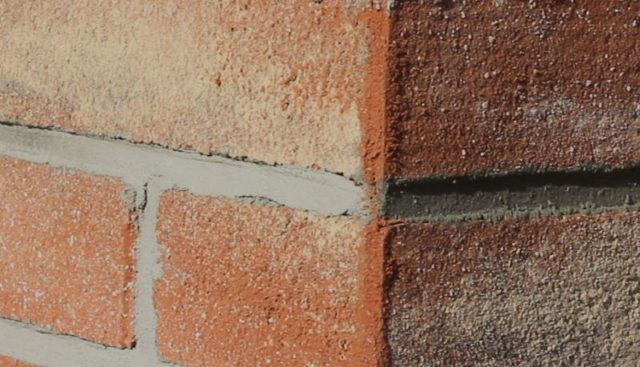
12. The resin will dry making the joint between the two Mattonflex sheets invisible
More info: +39 347.71.61.218
Il sito www.mattonflex.it utilizza cookie esclusivamente tecnici per permettere una corretta navigazione e la completa fruizione di tutti i contenuti da parte dell'utente. Non utilizziamo in alcun modo cookie di profilazione.Ok


